I found myself
endlessly pinning on Pinterest a few days ago and stumbled across
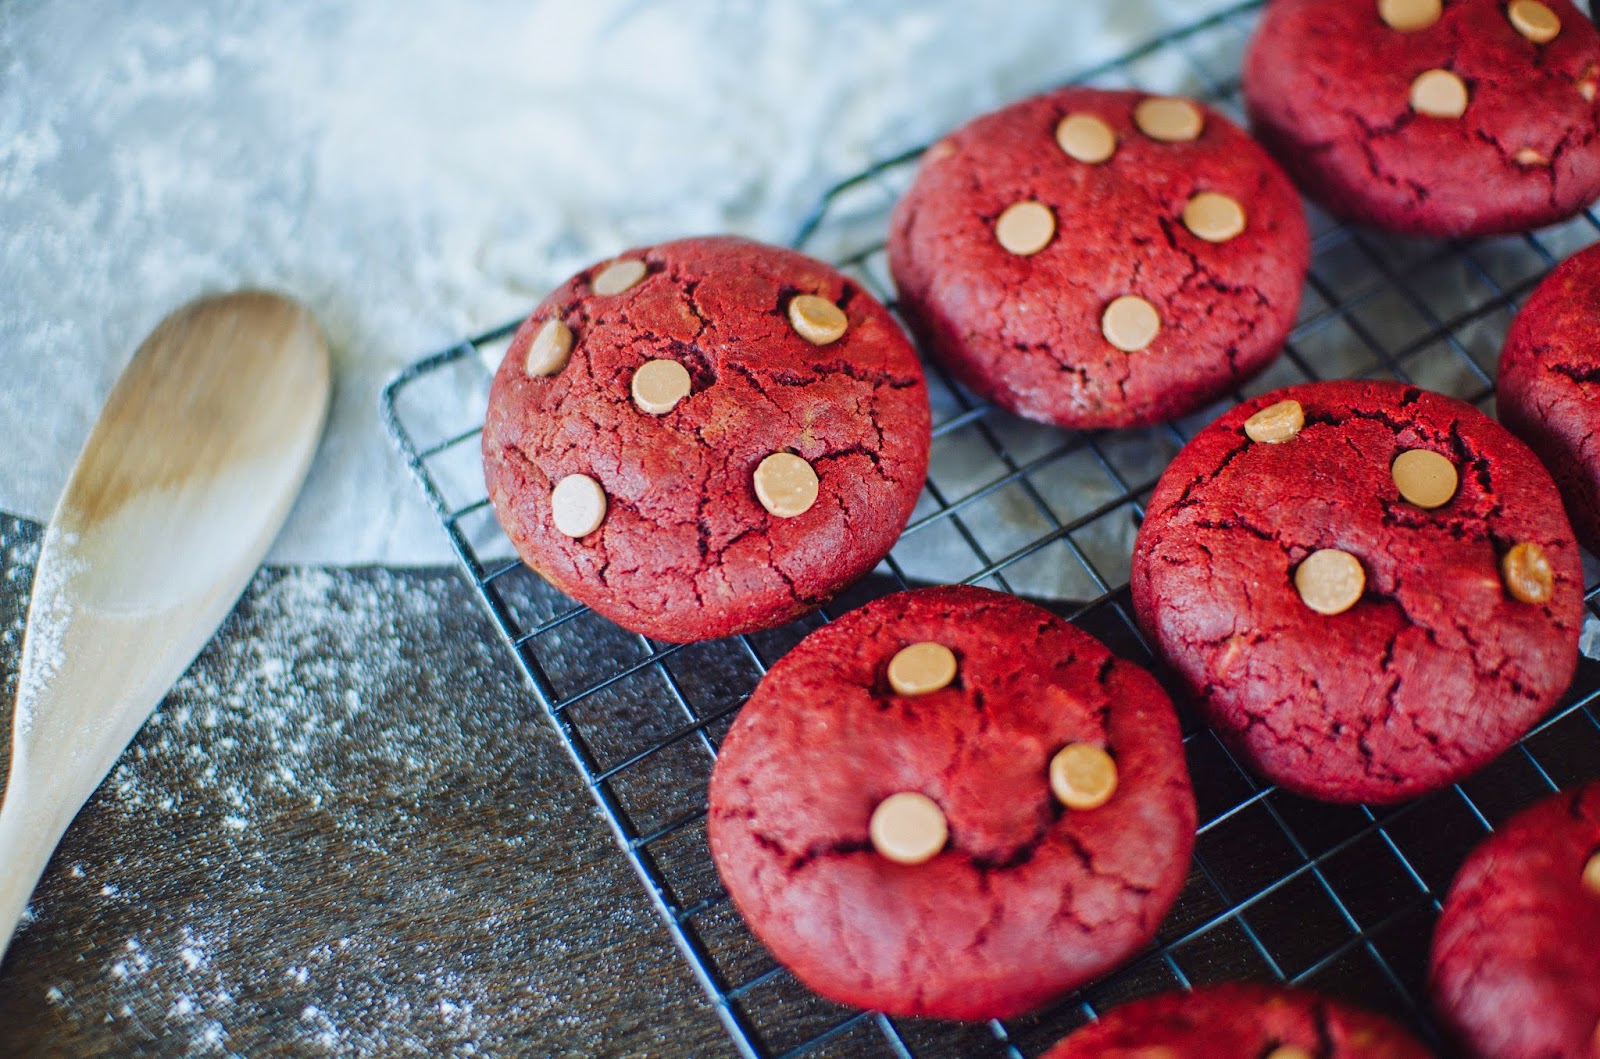
this brilliant creation and knew I had to give it a go. It was the deep, rich
red colour that beckoned me to click on the photo and eventually the link to
the recipe which I spent a
good time analyzing it to ensure that it was as easy as
it looked. This was my first time attempting this type particular type of
chocolate chip cookie and it sure was an instant hit amongst family and
friends. This sweet treat is as in the words of Sally from 'Sally's Baking Addiction' is a "blissful
marriage of two classic desserts". My only pointers to keep in mind before
beginning to make these wonderful and chewy cookies is to ensure that the
cookie dough is chilled for at least 1 hour in the fridge with clear film wrap
over the bowl, and to ensure that your cookies look incredibly neat in their
presentation take them out after 10 minutes in the oven and press down 3-4
chocolate melts on to the top of the cookie balls and place back into the oven
to cook for another good 5 minutes. Happy Baking and be sure to comment below
if you end up giving these little beauties a go.


Ingredients
1 and 1/2 cups + 1 Tablespoon (198g) plain flour
1/4 cup (21g) cocoa powder
1 teaspoon baking soda
1/4 teaspoon salt
1/2 cup (115g) unsalted butter, softened to room
temperature.
3/4 cup (150g) brown sugar
1/4 cup (50g) white sugar
1 egg, at room temperature
1 Tablespoon (15ml) milk
2 teaspoons vanilla essence
1.5 Tablespoons red food colouring
1 cup (180g) chocolate chips (white, milk or dark)
Method
- Toss the flour, cocoa powder, baking soda, and salt together in a
large bowl. Set aside.
- Using a handheld or stand mixer with a paddle attachment, beat the
butter on high speed until creamy, about 1 minute. Scrape down the sides
and the bottom of the bowl as needed. Switch the mixer to medium
speed and beat in the brown sugar and granulated sugar until combined.
Beat in the egg, milk, and vanilla extract, scraping down the sides and
bottom of the bowl as needed. Once mixed, add the food coloring and beat
until combined. Turn the mixer off and pour the dry ingredients into the
wet ingredients. Turn the mixer on low and slowly beat until a very
soft dough is formed. Beat in more food coloring if you'd like the dough
to be redder. On low speed, beat in the chocolate chips. The dough will be
sticky.
- Cover the dough tightly with aluminum foil or plastic wrap and
chill for at least 1 hour. Chilling is mandatory.
- Preheat oven to 350F degrees. Line two large baking sheets
with parchment paper or silicone baking mats. Set aside.
- Scoop 1.5 Tablespoons of dough and mold into a ball, as pictured
above. Place 9 balls onto each baking sheet. Bake each batch for
10-11 minutes. The cookies may have only spread slightly, that is ok.
Simply press down on the warm cookies to slightly flatten and form
crinkles. Stick a few chocolate chips into the tops of the warm cookies (as
explained in the post) - that's optional and only for looks.
- Allow the cookies to cool on the cookie sheet for 5 minutes before
transferring to a wire rack to cool completely. Store cookies in an
airtight container at room temperature for up to 7 days. Cookies may be
frozen for up to 2 months. Cookie dough may be frozen up to 2 months -
thaw overnight in the refrigerator. Cookie dough balls may be frozen up to
2 months. Bake for 1-2 extra minutes (do not thaw).